Taking pictures of kids can be tricky, they tend to move a lot making it even more of a challenge. I often get asked, how do you take such great photos of your kids? Well I want to tell you it isn’t easy, but I’ve had a lot of practice!
My kids have been have been part of photo shoots since they were babies. I used to own a kids company, so I worked with them often to get new product shots to update my website. They’re use to the camera but it doesn’t always mean they cooperate. I have some tips and tricks that work for me and I wanted to share them with you!
Top 7 tips for capturing photos of your kids with an iPhone
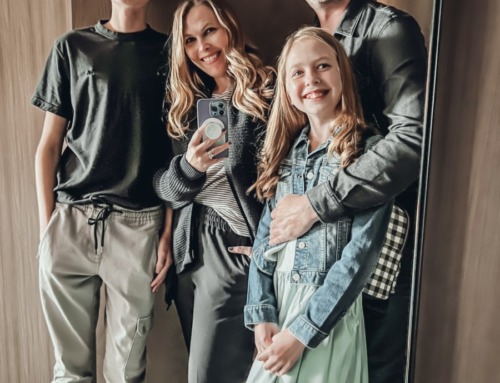
Tip 1 – Capture Their Personality

For me, my favorite photos of them are not the ones where they are posing and saying cheese. The trick to this is trying to make them laugh, my trick is toilet talk. I’m not even kidding when I tell you this, as soon as I start talking about poop and toots I have them howling with laughter. Not sure why it’s so funny to kids but it is. As they are laughing away, that is when I am snapping the pictures. It works like a charm every time!
Tip 2 – Just Keep Snapping


To capture their personality in photos you have to just keep snapping. I often snap 30-50 photos just to get one good one. Yes, you read that right 30 to 50! Some will be blurry, some will have eyes closed, some will have silly faces, but you’ll fine a few in there that are perfect!
Tip 3 – Use the Burst Setting


iPhone’s have a great feature, if you didn’t know already you can hold your finger down so the camera just keeps snapping. If we are ever doing photos where there is any kind of movement, this is what I use. Jumping, spinning, even laughing; this setting is great for capturing those moments. Once you finish snapping hit the select button and then you can slide through the photos captured in the burst. From there you can select the ones you like, hit done and then keep only favorites.
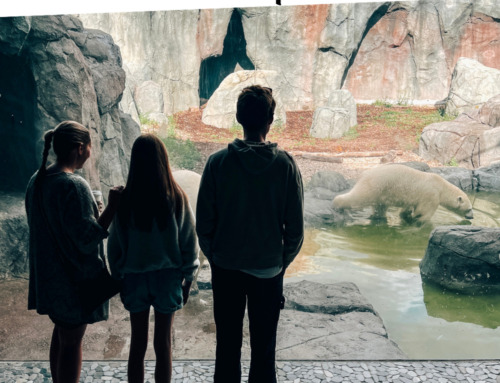
Tip 4 – Lighting is Everything


When taking photos with an iPhone you really need to work with the lighting. Outside photos turn out best but sunlight is not ideal because you’ll have squinting, shine on the face, dark photos, etc. I love using walls as backdrops, so it’s always best to photograph in front of them when the sun isn’t shining on them directly. If it is you can step away from the wall so you don’t cast a shadow on it. If you have to take the shot in be prepared for lots of edits!
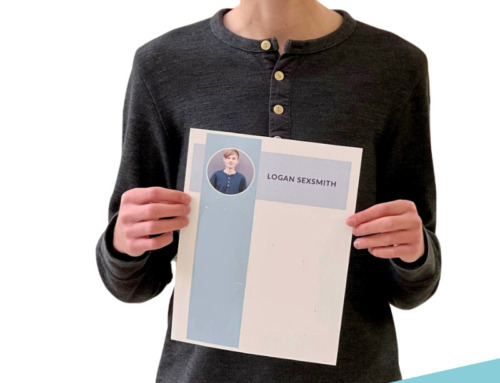
Tip 5 – Editing


I spend 5-10 minutes per photo to edit it in various apps before it gets posted online. I work with Snapseed, Facetune and Pic Tap Go the most. I would need to do an entire blog post to explain to you all the steps that go into one photo so my best tip here would be that you need to play with all the settings on your photos to get the editing style you prefer just right. Snapseed is great for edits like lightening and brightening, I always use this app first. Next I head into Facetune 2 to fix things like shine or shadows on the face. I also use it often to brighten colors in specific areas of photos. There is also the healing function when you need to take marks off a wall, or maybe remove a bruise on a leg. They have quite a few filters within it as well that area also great. Pic Tap Go is awesome for saving a filter style so you can apply it again and again to your photos. There are lots of filters you can layer on a photo and then you can save a recipe with them to use again later.
Tip 6 – Props


Props are helpful to keep them busy while taking photos. We’ve used lollipops, popcorn, toys, candy and more. Where possible, you can even match them to what they are wearing! This day we stopped by a very busy skate park to capture some photos. The lollipop kept her occupied and not concerned with everything that was going on around her.
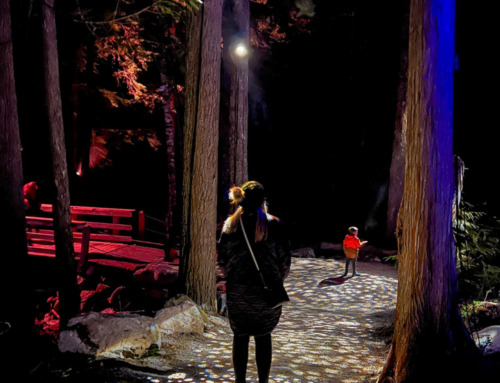
Tip 7 – The Portrait Setting


If you have an iPhone 7 or newer you will have access to the portrait setting. This is one of my favorite features of the iPhone! I love how it blurs out the background so you can focus on the child in the image.
I prefer to use the iPhone for online content instead of the camera. We take a lot of photos at our house and I find that it’s quick and easy and I always have it with me. If you are planning to print or enlarge photos you will probably prefer the quality that comes from a regular camera better for anything larger than 4×6 in size.
Remember practice makes perfect so have fun and be silly, they are always the best moments to capture!


